
Note: This content is short, as the name suggests. You’ll learn how to install Google Tag Manager on a WordPress website. In 5 minutes or less.
A few years ago when I was just starting my career, Google Tag Manager (we’ll call it “GTM” from now on) was one of my biggest nightmares. Fortunately, I met the right career mentor on one of my projects (I’ll tell that story in another article 🙂).
Step-by-Step Guide to Install Google Tag Manager via WordPress
As it turns out, implementing GTM isn’t that difficult. You don’t need a programming background to do it, especially if you’re using WordPress. Now, make sure you’re logged into your WordPress dashboard and visit https://tagmanager.google.com/. Here are the steps:
1. Setting up your GTM account
After visiting the GTM site, you’ll see a display like this:
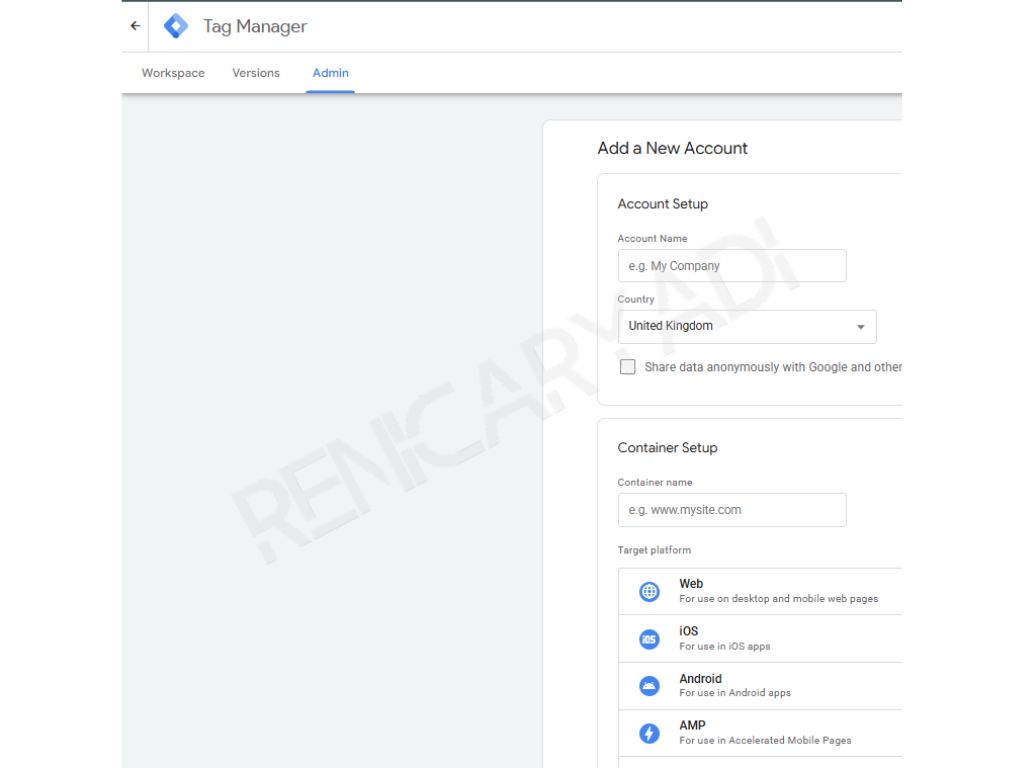
Fill in the “Account Setup” section with any name (I suggest using your website name), select your Country, and enter your website address without using “https://”. Since we’ll be tracking a website, choose “Web”.
For the “Share data anonymously with Google and others” section, just leave it unchecked. Who wants to share data with Google anyway, lol 🤣.
2. Accept the terms and get your tracking codes
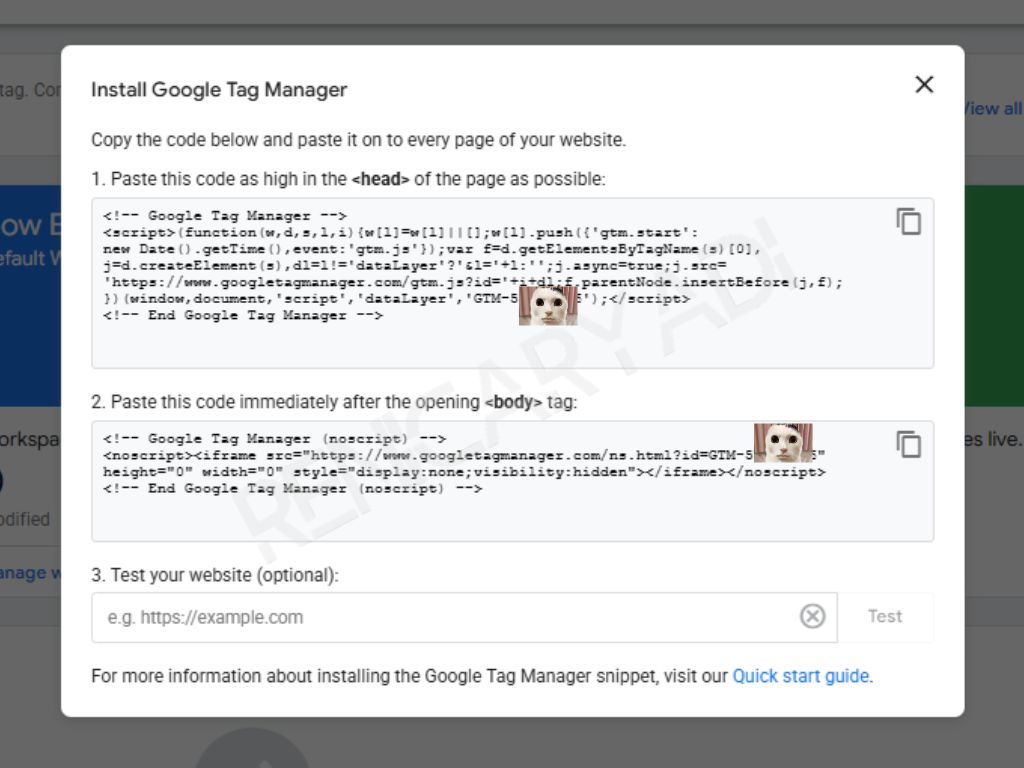
Accept the GTM and GDPR terms, and you’ll receive code to install on WordPress, which looks like this:
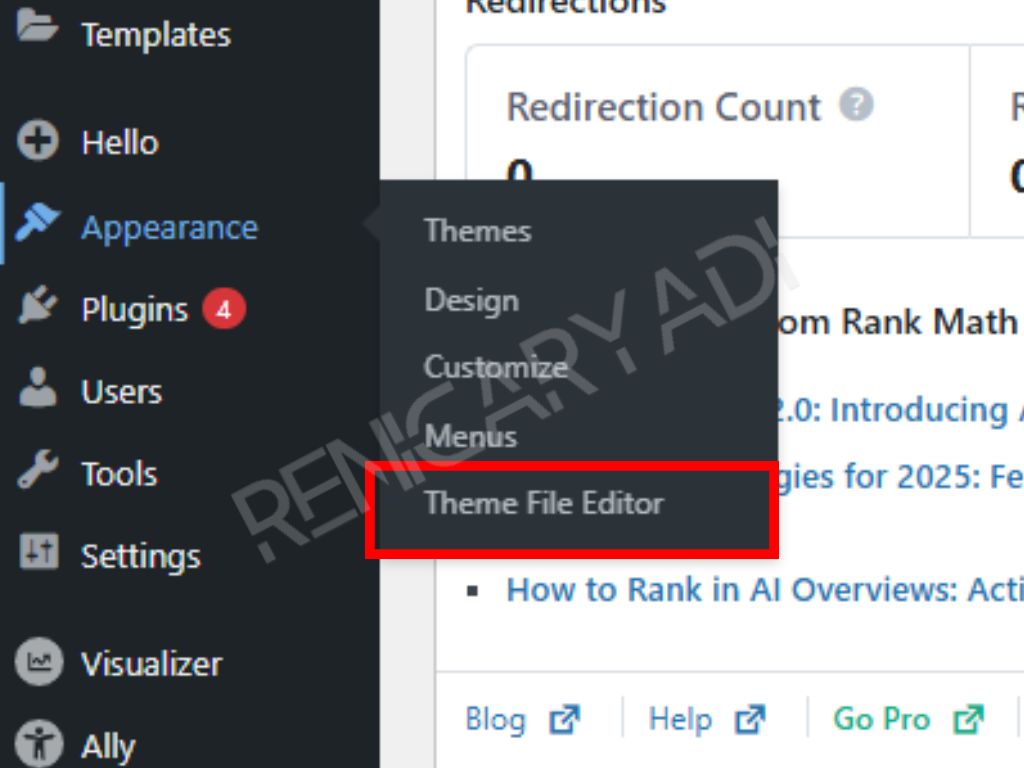
Without closing the GTM tab, open your WordPress dashboard, look for Appearance, then click Theme File Editor.
3. The crucial part – installing the codes
We’ve reached the crucial part. Following the instructions on the GTM tab, we need to find <head> to place the first code, and <body> for the second code. Usually, <head> is located in the header file (the name could be header.php, header_file.php, etc. depending on the theme you’re using). In this example, I’m using the Hello Elementor theme.

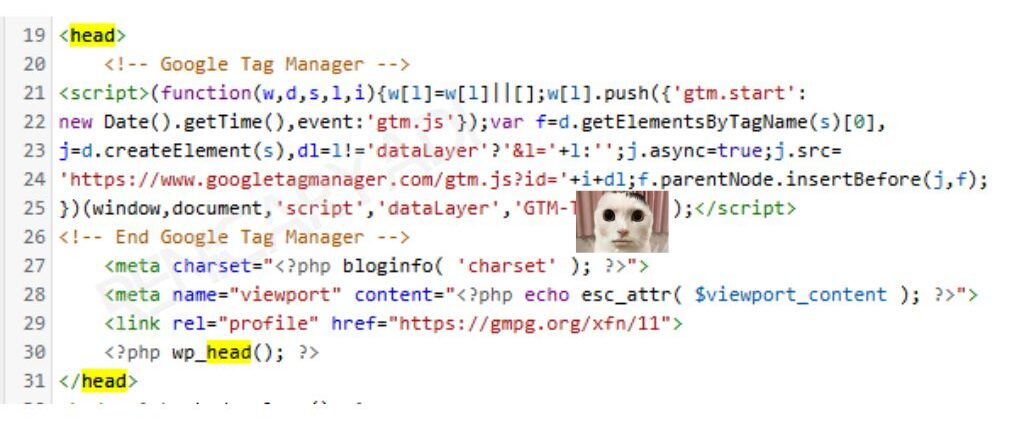
4. Installing the first code in the header
Click the header.php file on your website and look for <head>, you can use Ctrl + F to find it faster. Copy the first code and paste it after <head> and before </head>. Don’t forget to click the Update File button at the bottom!
Make sure you see this confirmation before moving to the next step:
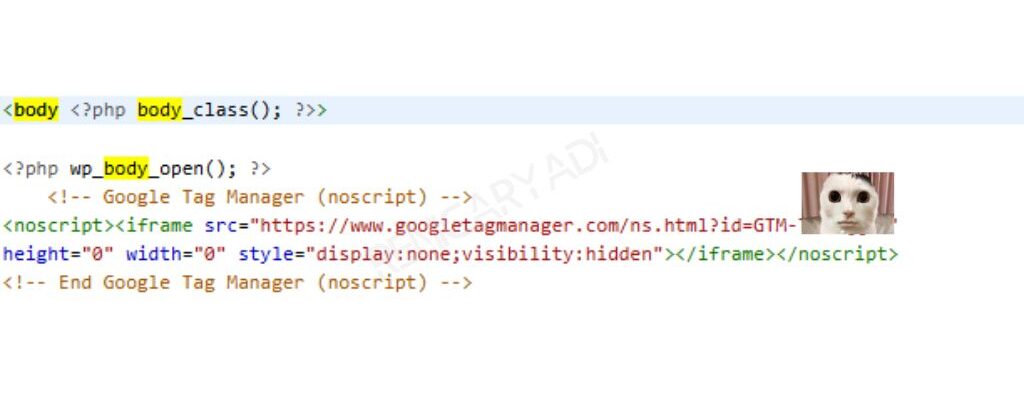
5. Installing the second code after the body tag
Now, for the second code, <body> is usually also in the header file, after <head>. However, in some cases, <body> and <head> might be in different files. Coincidentally in Hello Elementor, both are located in the header file.
Now, press Ctrl + F again and search for “body”. Copy the second code and insert it right after <body> (PS. the format might vary again. In my case, “<body <?php body_class(); ?>>” is the script line in question).
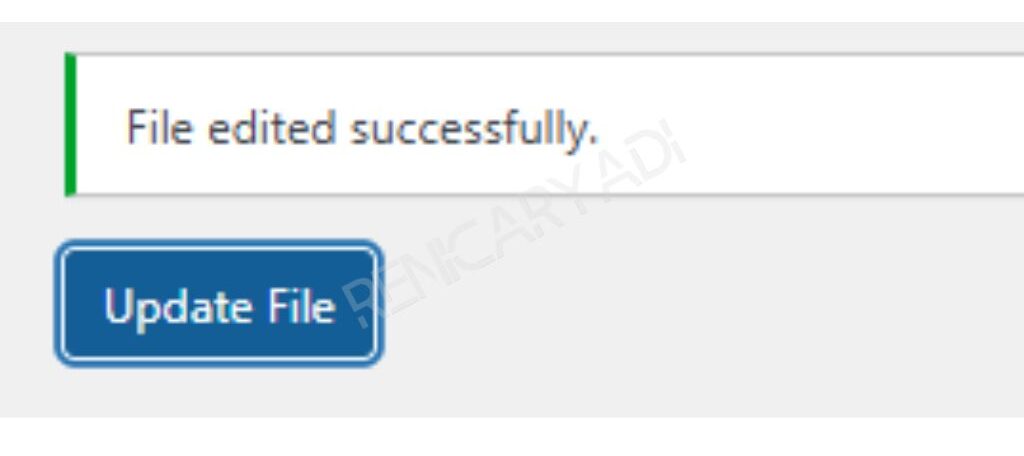
Update the file until you see this confirmation, once again:
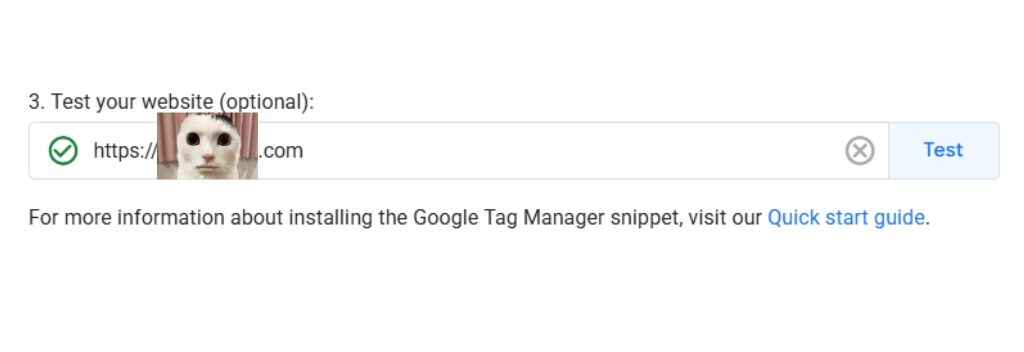
6. Testing your installation
Now, go back to the GTM tab. Enter your website URL and click “Test”. If installed correctly, you’ll see a green checkmark next to your website URL.
Alternative Method: Install GTM Without Messing with Theme Files
Scared of making mistakes while installing code? (Tsk tsk, a digital marketer being scared 🫵🤣).
But hey, no worries. There’s another way we can use, which is via the GTM4WP Plugin.
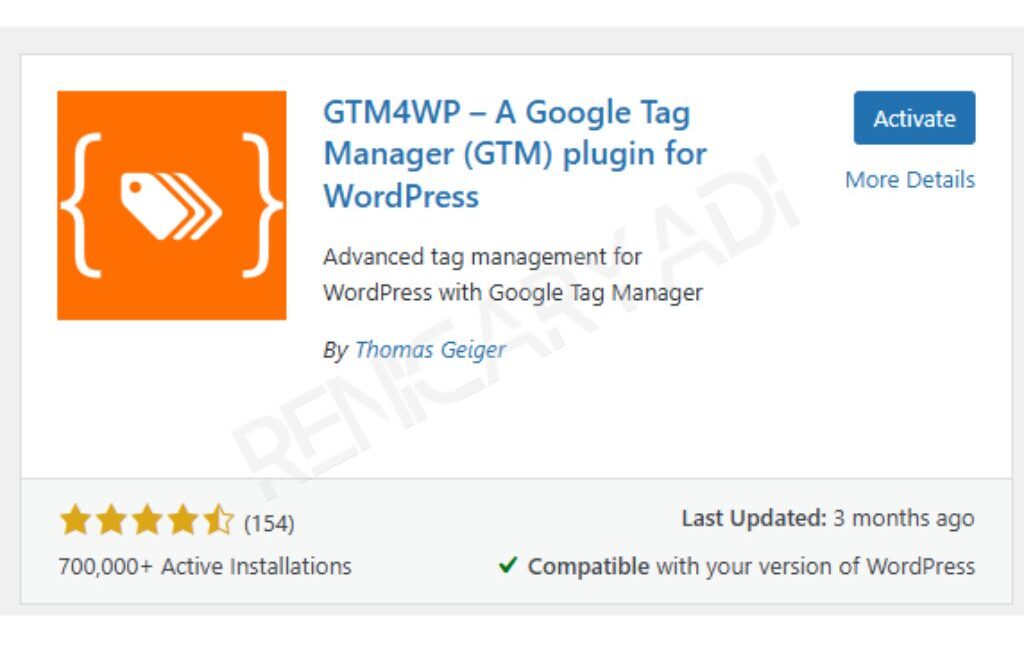
1. Install and activate the plugin
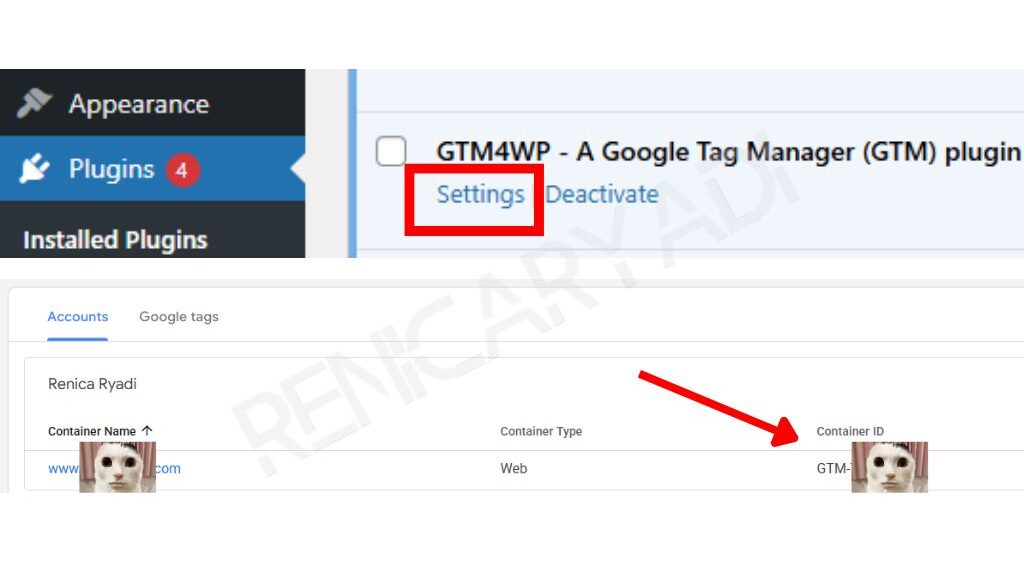
First, find this plugin, add it to WordPress, and activate it. After that, go to the Plugin dashboard, look for GTM4P, and click Settings.
2. Get your Container ID from GTM
Open https://tagmanager.google.com/, follow the steps to create a GTM account as before, and copy the Container ID displayed in the upper right corner of your website Container.
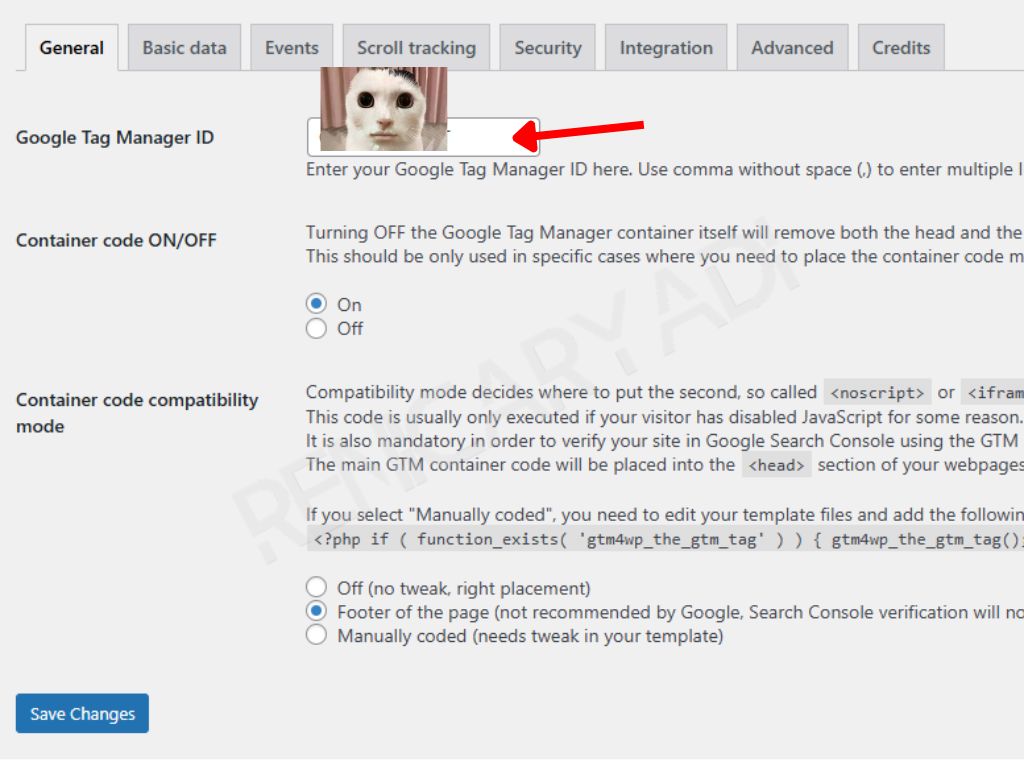
3. Enter the Container ID in WordPress
Go back to WordPress, enter that Container ID into the empty Google Tag Manager ID field. Click Save Changes.
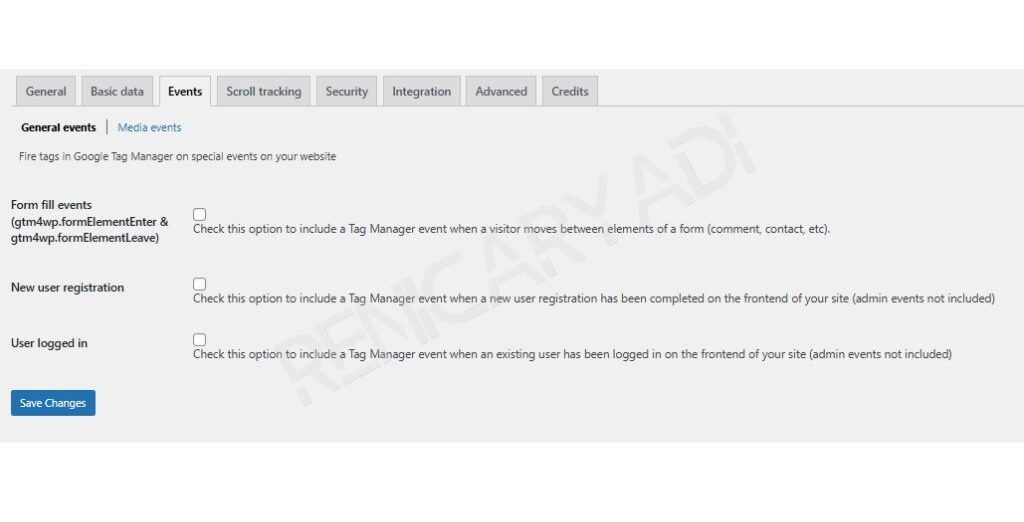
Tada, done! Easier? Of course! But wait, don’t get too excited 🫵🤣 With the convenience offered, GTM4WP certainly has many limitations. One of them is this:
Imagine suddenly your client or lead asks,
“Hey, can you set up sales tracking so we can know how many sales come from ads?”
Dear Client
How do you create that when the feature doesn’t exist in GTM4WP?

Unlike instant noodles, installing Google Tag Manager instantly has the potential to give you a stomachache, not satisfaction 🙂
So, that’s it for today’s article, folks. Hope it helps! And if you have any questions, feel free to drop them wherever you can find me.
And oh yeah, just a reminder:
This article is part of a Google Tag Manager guideline series that will be continuously updated (when I’m in the mood).